Appearance
Building a custom parser
Each instance of Ogma stores a graph internally and renders it inside an HTML container according to styling rules. Whereas it is possible to create a graph from scratch with Ogma, most of the time you will provide Ogma with existing data to display.
This tutorial covers the common use cases of displaying your data with Ogma.
Process Overview
- If your data is stored somewhere on the web, a first step will consist in fetching it. For files, this means retrieving the file and reading its contents. For databases, this means connecting to the database, executing a query and receiving the response.
- Once this data is retrieved, a second step consists in translating this data to a graph format that Ogma can interpret.
- Finally, this graph can be loaded in Ogma to be rendered.
Ogma native graph format
An Ogma graph is a data-structure with two fields: nodes and edges, that are arrays of RawNode and RawEdge objects. For more information on Ogma's graph format, please read this guide.
js
//  Graph in Ogma's native format
const my_graph = {
  nodes: [
    {
      id: '0',
      data: {
        name: 'Scarlet Fox',
        occupation: 'dancer'
      },
      attributes: {
        color: 'orange'
      }
    },
    {
      id: '1',
      data: {
        name: 'Lita Frost',
        occupation: 'singer',
        albums: [' Disco Battle', ' Silent Dynamite']
      }
    }
  ],
  edges: [
    {
      id: '0',
      source: '0',
      target: '1'
    }
  ]
};

// Instantiate and bind Ogma to the HTML container.
const ogma = new Ogma({
  container: 'graph-container'
});

// Assign this graph to Ogma and run a layout.
ogma.setGraph(my_graph).then(function () {
  return ogma.layouts.forceLink();
});
Support for other formats
Ogma provides a parser for the GEXF and JSON formats. In this example, we use Ogma’s gexf parser to parse and load a gexf file in Ogma:
js
Ogma.parse.gexfFromUrl('files/arctic.gexf').then(function (graph) {
  return ogma.setGraph(graph);
});

// This is equivalent to
ogma
  .fetch('files/arctic.gexf')
  .then(function (gexfGraph) {
    return Ogma.parse.gexf(gexfGraph);
  })
  .then(function (graph) {
    return ogma.setGraph(graph);
  });
The function Ogma.parse.gexfFromUrl(fileUrl) retrieves the file from its url and translates its contents to Ogma's graph format, whereas the function Ogma.parse.gexf(gexfString) translates gexf data to Ogma's graph format.
Creating a custom parser
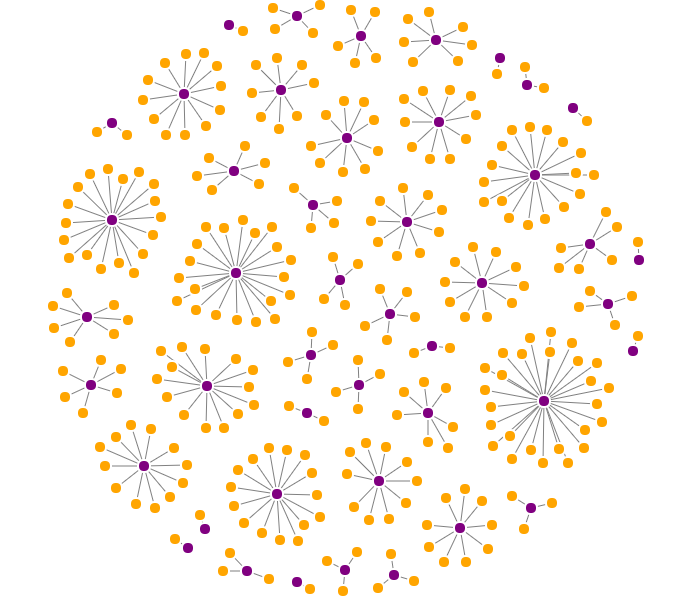
If your format is not natively supported by Ogma, you will have to create a parser yourself. Here is an example of code that loads a CSV file (comma separated values) in Ogma.
CSV sample
Our CSV file contains information on individuals (first_name, last_name, email, gender) and the maker of their car. Here is the full file: cars.csv.
| person_id | first_name | last_name | gender | car_maker | |
|---|---|---|---|---|---|
| 1 | Seymour | Canada | scanada0@i2i.jp | Male | Mercedes-Benz |
| 2 | Deeann | Longford | dlongford1@google.fr | Female | Rolls-Royce |
We want our visualisation to display a node for each individual and for each car maker, and the connections between then.
Code sample
We use the Papa Parse javascript library to handle the CSV parsing. We first import the library:
html
<!-- Import the Papaparse library -->
<script src="https://cdn.jsdelivr.net/npm/papaparse@4.3.6/papaparse.js"></script>
Then, we fetch the csv file with Ogma and parse its contents with the Papa Parse API. We create a function processCsvLine and register it to be called for each line of the file.
js
// Utility function that process one line of data
function processCsvLine(graph, line) {
  // Create the person
  graph.nodes.push({
    id: line.person_id,
    data: {
      type: 'Person',
      first_name: line.first_name,
      last_name: line.last_name,
      email: line.email,
      gender: line.gender
    }
  });

  // Create the Car Maker
  graph.nodes.push({
    id: line.car_maker,
    data: {
      type: 'Maker',
      name: line.car_maker
    }
  });

  // Create the relation
  graph.edges.push({
    id: line.person_id + '-' + line.car_maker,
    source: line.person_id,
    target: line.car_maker,
    data: {
      type: 'Owns'
    }
  });
}

function parseCSV(csvData) {
  return new Promise(function (resolve) {
    // Create an empty graph object
    const graph = { nodes: [], edges: [] };

    Papa.parse(csvData, {
      worker: true,
      header: true,
      download: false,
      skipEmptyLines: true,
      step: function (results) {
        processCsvLine(graph, results.data[0]);
      },
      complete: function () {
        console.log('CSV import done');
        resolve(graph);
      }
    });
  });
}

// Finally: fetch a file, parse its contents, load it and apply a layout
ogma
  .fetch('files/cars.csv')
  .then(function (csvData) {
    return parseCSV(csvData);
  })
  .then(function (graph) {
    return ogma.setGraph(graph);
  })
  .then(function () {
    ogma.layouts.forceLink();
  });
Here is the result of loading the CSV file with this model: