Appearance
Styling API
Nodes and edges have multiple visual attributes: position, color, shape, size, image, text, etc (see the full list here). Ogma provides multiple ways to alter these attributes, depending on the need.
Most sections of this tutorial will be illustrated with examples using nodes, but it works exactly the same for edges.
Basics
Assigning attributes
The most simple way to change the attributes of an element (node or edge) is to use the setAttributes method:
js
const node = ogma.addNode({ id: 0 });

node.setAttributes({
  x: 10,
  y: 30,
  color: 'blue',
  text: { content: 'My node' }
});
It is also possible to specify attributes when adding a node/edge, by providing an attributes property. Attributes specified this way are called "original attributes".
js
ogma.addNode({
  id: 1,
  attributes: { x: 30, y: 30, color: 'red', text: { content: 'My other node' } }
});
Result:

Note: in case of nested attributes, you can often use a shortcut to specify the main "sub-attribute":
js
// The following two lines are equivalent:

node.setAttributes({ text: { content: 'Some text' } });

node.setAttributes({ text: 'Some text' });
// Here the value of the `text` property is not an object, thus is alias-ed to `text.content`
You can also set a single attribute with setAttribute (with no 's'):
js
node.setAttribute('shape', 'square');
node.setAttribute('text.color', 'blue');

// Notice how you specify a nested property name
Retrieving attributes
You can retrieve a single attribute with getAttribute (without the 's'):
js
const node = ogma.addNode({ id: 0 });
node.setAttributes({
  x: 10,
  y: 30,
  color: 'blue',
  text: { content: 'My node' }
});

console.log(node.getAttribute('color')); // "blue"
To retrieve some (or all) attributes of a node, use the getAttributes method:
js
const node = ogma.addNode({ id: 0 });
node.setAttributes({
  x: 10,
  y: 30,
  color: 'blue',
  text: { content: 'My node' }
});

console.log(node.getAttributes(['x', 'y', 'text.content']));
// {x: 10, y: 30, text: {content: 'My node'}}- The method takes the list of attributes to retrieve.
- If no argument is specified, the method will return an object containing all attributes.
- Nested attributes are specified with a dot-separated string.
Note: There is also a node.getPosition() method that is a shortcut for node.getAttributes(['x', 'y']).
Resetting attributes
You can reset attributes to their original value (the ones specified when the node/edge was added) by using the resetAttributes method:
js
const node = ogma.addNode({
  id: 2,
  attributes: {
    x: 20,
    y: 50,
    color: 'green',
    text: { content: 'Yet another node' }
  }
});

node.setAttributes({ color: 'darkblue', shape: 'square' });

console.log(node.getAttribute('color')); // "darkblue"
console.log(node.getAttribute('shape')); // "square"

node.resetAttributes();

console.log(node.getAttribute('color')); // "green"
console.log(node.getAttribute('shape')); // "circle"
// no original attribute was specified for the "shape" attribute, so the system default value is assigned
Before reset:

After reset:

By default, all attributes are reset but it is possible to specify a subset of attributes to reset:
js
// Reset the coordinates and the color back to their original value.
// All other attributes are left untouched
node.resetAttributes(['x', 'y', 'color']);
Working with NodeList/EdgeList
All these methods also work on the NodeList/EdgeList objects:
js
// Color all the nodes in the graph in gold
ogma.getNodes().setAttributes({ color: 'gold' });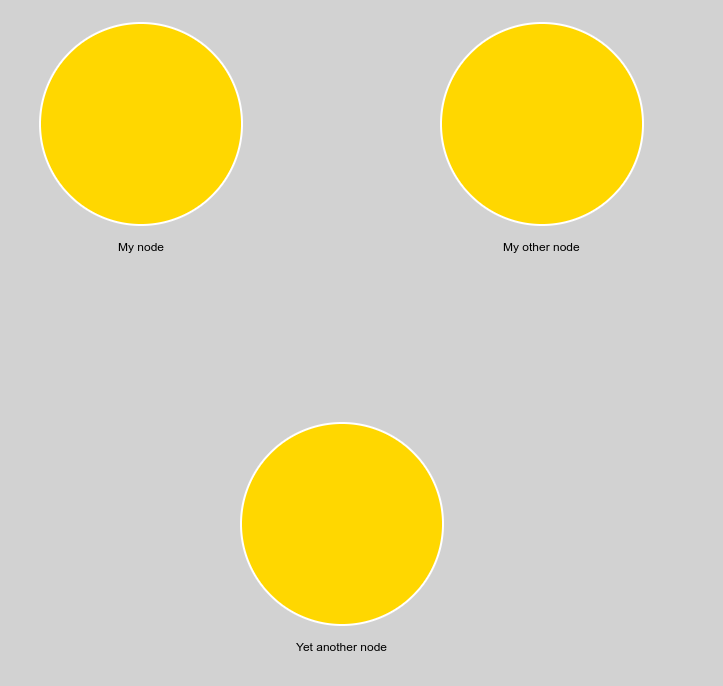
When used with a NodeList/EdgeList, the setAttributes method can also take a list of attributes objects as parameter. In that case, the first object is assigned to the first element of the list, the second object to the second element, etc.
js
ogma.getNodes(['My node', 'Yet another node']).setAttributes([
  { x: 0, y: 40, radius: 3, color: 'lightgreen' },
  { x: 5, y: 55, radius: 2, color: 'pink' }
]);

console.log(ogma.getNode('My node').getAttribute('color')); // "lightgreen"
console.log(ogma.getNode('Yet another node').getAttribute('color')); // "pink"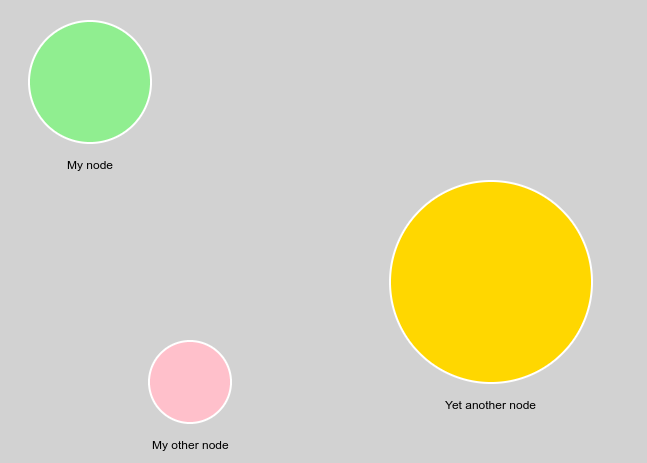
Similarly, calling getAttributes on a NodeList or EdgeList retrieves a list of objects, and getAttribute retrieves a list of values:
js
const nodes = ogma.getNodes(['My node', 'Yet another node']);

nodes.setAttributes([
  { x: 0, y: 40, radius: 3, color: 'lightgreen' },
  { x: 5, y: 55, radius: 2, color: 'pink' }
]);

console.log(nodes.getAttributes(['x', 'y'])); // [{x: 0, y: 0}, {x: 10, y: 20}]
console.log(nodes.getAttribute('color')); // ['red', 'blue']
A very straightforward usage of this feature is the ability to save the state of a list of nodes, and restore it later.
The resetAttributes method also work with lists:
js
// Reset the graph to its original state
ogma.getNodes().resetAttributes();
ogma.getEdges().resetAttributes();
Animations
If desired, attribute transitions can be animated. Specify the duration (in milliseconds) and easing as the second parameter of setAttributes.
js
const node = ogma.addNode({ id: 3, attributes: { color: 'red' } });

// Animate the color change of the node from red to blue in 500 ms.
node.setAttributes(
  { color: 'blue' },
  { duration: 500, easing: 'quadraticOut' }
);
Global rules
Creating rules
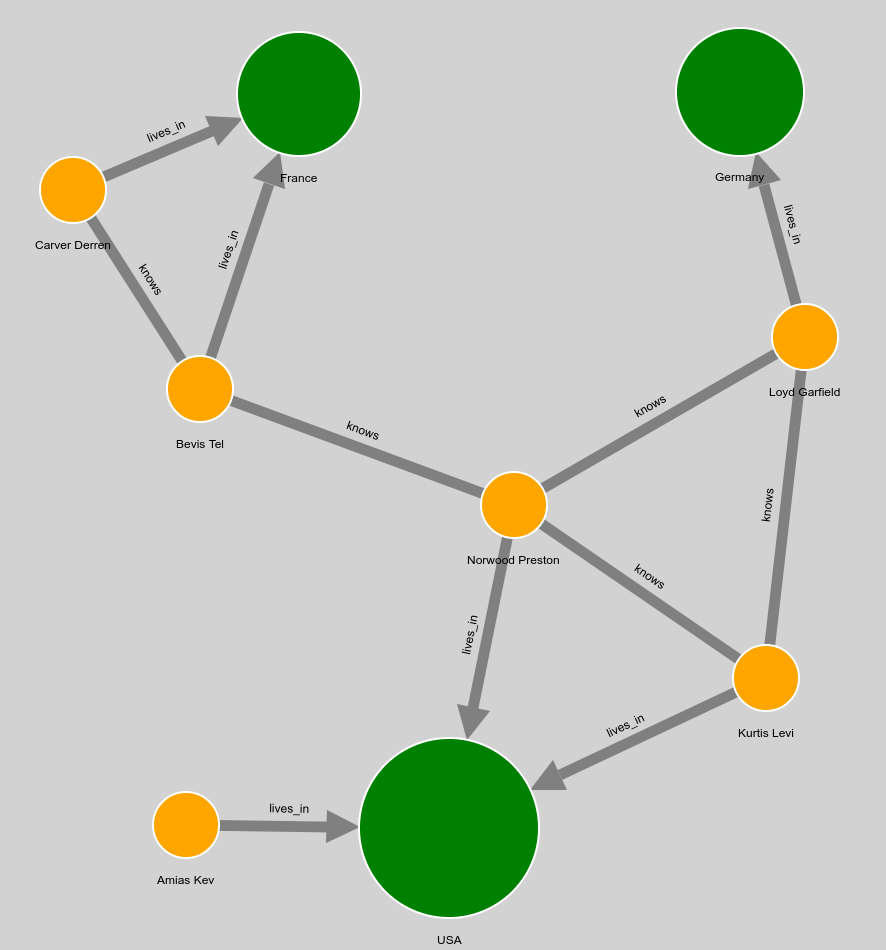
Most often, graphs don't contain any attribute but contain node and edge data. When loaded in Ogma, they look raw because the default style is applied.
js
ogma.setGraph({
  nodes: [
    {
      id: 0,
      data: {
        type: 'country',
        name: 'USA',
        population: 325365189,
        currency: 'USD'
      },
      attributes: { x: 0.1414247453212738, y: 36.075706481933594 }
    },
    {
      id: 1,
      data: {
        type: 'country',
        name: 'France',
        population: 66991000,
        currency: 'EUR'
      },
      attributes: { x: -13.736449241638184, y: -31.714202880859375 }
    },
    {
      id: 2,
      data: {
        type: 'country',
        name: 'Germany',
        population: 82175700,
        currency: 'EUR'
      },
      attributes: { x: 26.934364318847656, y: -31.93191909790039 }
    },
    {
      id: 3,
      data: { type: 'person', name: 'Norwood Preston', age: 44 },
      attributes: { x: 6.068506240844727, y: 6.21354866027832 }
    },
    {
      id: 4,
      data: { type: 'person', name: 'Kurtis Levi', age: 24 },
      attributes: { x: 29.330284118652344, y: 22.172880172729492 }
    },
    {
      id: 5,
      data: { type: 'person', name: 'Amias Kev', age: 38 },
      attributes: { x: -24.19040298461914, y: 35.77732849121094 }
    },
    {
      id: 6,
      data: { type: 'person', name: 'Carver Derren', age: 16 },
      attributes: { x: -34.62548065185547, y: -22.868541717529297 }
    },
    {
      id: 7,
      data: { type: 'person', name: 'Bevis Tel', age: 73 },
      attributes: { x: -22.90767478942871, y: -4.446183681488037 }
    },
    {
      id: 8,
      data: { type: 'person', name: 'Loyd Garfield', age: 32 },
      attributes: { x: 32.98543167114258, y: -9.278616905212402 }
    }
  ],
  edges: [
    { id: 0, source: 3, target: 0, data: { type: 'lives_in' } },
    { id: 1, source: 4, target: 0, data: { type: 'lives_in' } },
    { id: 2, source: 5, target: 0, data: { type: 'lives_in' } },
    { id: 3, source: 6, target: 1, data: { type: 'lives_in' } },
    { id: 4, source: 7, target: 1, data: { type: 'lives_in' } },
    { id: 5, source: 8, target: 2, data: { type: 'lives_in' } },
    { id: 6, source: 3, target: 4, data: { type: 'knows' } },
    { id: 7, source: 3, target: 8, data: { type: 'knows' } },
    { id: 8, source: 3, target: 7, data: { type: 'knows' } },
    { id: 9, source: 4, target: 8, data: { type: 'knows' } },
    { id: 10, source: 6, target: 7, data: { type: 'knows' } }
  ]
});
Rather than looping through every node, we can define global rules to assign the attributes of the nodes and edges.
js
ogma.styles.addRule({
  nodeAttributes: {
    color: 'orange',
    text: node => node.getData('name')
  },
  edgeAttributes: edge => {
    return {
      opacity: Math.min(
        edge.getSource().getAttribute('opacity'),
        edge.getTarget().getAttribute('opacity')
      ),
      shape: {
        type: 'line',
        head: edge.getData('type') === 'owns' ? 'arrow' : null
      }
    };
  }
});
The nodeAttributes and edgeAttributes fields are similar to the NodeAttributes and EdgeAttributes structure, except there can be functions at any level. Functions at non-leaf level should return an object containing values for the nested attributes. As shown in the example, it's even possible to provide a single function that will return the whole attribute object.
Rules can be based on attributes and data. When an element's (node or edge) data or attribute changes, Ogma recomputes all rules for the node/edge and its adjacent elements. It is possible to specify exactly when a rule should be refreshed with additional options, this is the object of the next tutorial.
Quick note on data: the data property is an object whose content is up to the user. It is manipulable through methods getData and setData. See the Data API tutorial for a more in depth explanation.
Selectors
It is possible to specify a selector to indicate on which nodes/edges the rule should be applied:
js
ogma.styles.addRule({
  nodeAttributes: { color: 'red' },

  // The rule will only be applied to nodes for which the data `foo` is equal to `'bar'`
  nodeSelector: node => node.getData('foo') === 'bar'
});
Advantages of rules instead of setAttributes:
- Rules are automatically applied to nodes/edges added to the graph.
js
ogma.styles.addRule({ nodeAttributes: { color: 'red' } });
const node = ogma.addNode({ id: 0 });

console.log(node.getAttribute('color')); // "red"- Rules are automatically re-applied whenever there is a relevant change in the graph
js
ogma.styles.addRule({
  nodeAttributes: {
    text: node => node.getData('name')
  }
});

const node = ogma.addNode({ id: 0, data: { name: 'John' } });

console.log(node.getAttribute('text')); // "John"

node.setData('name', 'James');

console.log(node.getAttribute('text')); // "James"- Rules are applied after original attributes, but before attributes set via
setAttributes. This means that you can build a logic that usessetAttributeson top of the global rules:
js
const node = ogma.addNode({
  id: 0,
  attributes: { color: 'blue' },
  data: { name: 'Google', type: 'company' }
});

node.setAttributes({ text: 'Facebook' });

ogma.styles.addRule({
  nodeAttributes: {
    color: node => {
      if (node.getData('type') === 'company') {
        return 'red';
      }
      return 'black';
    },
    text: node => node.getData('name')
  }
});

// The text set by `setAttributes` takes precedence over the rule
console.log(node.getAttribute('text')); // "Facebook"

// The color assigned by the rule takes precedence over the original color
console.log(node.getAttribute('color')); // "red"
Note: addRule returns an object that can be used to manipulate the rule (removing, refreshing or re-ordering it)
Removing rules
Removing a rule is done with the destroy method:
js
const node = ogma.addNode({ id: 0, attributes: { color: 'blue' } });
const rule = ogma.styles.addRule({ nodeAttributes: { color: 'red' } });

console.log(node.getAttribute('color')); // "red"

rule.destroy();

console.log(node.getAttribute('color')); // "blue"
Re-ordering rules
Multiple rules can be applied at the same time. Therefore, conflicts may occur:
js
// Simple case: what color is assigned to the nodes?

ogma.styles.addRule({ nodeAttributes: { color: 'red' } });
ogma.styles.addRule({ nodeAttributes: { color: 'blue' } });
Rules are internally stored in an array: every time a rule is added, it is added at the end of the array. When attributes are computed, rules are applied one by one in the order they appear in the array (by default rules added last are applied last). In this example, the nodes will be blue.
Although not common, it may be necessary to re-order the rules within this array in order to modify the order in which they are applied. In such case, the following methods are useful:
rule.getIndex(): retrieves the index of the specified rulerule.setIndex(index): changes the index of the specified rule
Here is an example that demonstrates swapping the priority of two rules:
js
function swapRulePriority(rule1, rule2) {
  const index1 = rule1.getIndex();
  const index2 = rule2.getIndex();

  rule1.setIndex(index2);
  rule2.setIndex(index1);
}
Refreshing rules
It can happen that a rule references an external variable. If this variable changes, the rule needs to be manually refreshed to take the change into account:
js
const myMapping = {
  person: 'red',
  country: 'blue',
  company: 'green'
};

const rule = ogma.styles.addRule({
  nodeAttributes: {
    color: node => myMapping[node.getData('type')]
  }
});

// Change a variable referenced by the rule
myMapping.company = 'purple';

// Manually refresh the rule
rule.refresh();
Retrieving all rules
You can retrieve all rules with styles.getRuleList():
js
// This example deletes all the rules

ogma.styles.getRuleList().forEach(rule => rule.destroy());
Classes
Classes are a way to highlight nodes/edges to show they are in a meaningful and temporary state.
Selection and hover
These two classes are managed by Ogma itself, and are not directly accessible by the user. To affect how the nodes look like when hovered/selected, Ogma provides the setHoveredNodeAttributes and setSelectedNodeAttributes methods:
js
const node = ogma.addNode({ id: 0 });

ogma.styles.setSelectedNodeAttributes({ outerStroke: { color: 'green' } });
node.setSelected(true);

console.log(node.getAttribute('outerStroke.color')); // "green"
The argument is the same as the nodeAttributes parameter for the rules, and thus can contain functions:
js
// In this example, we display the name of the nodes as their text, only when they are selected

const node = ogma.addNode({ id: 0, data: { name: 'John' } });

ogma.styles.setSelectedNodeAttributes({
  outerStroke: {
    color: 'green'
  },
  text: node => node.getData('name')
});

console.log(node.getAttribute('text')); // null
node.setSelected(true);
console.log(node.getAttribute('text')); // "John"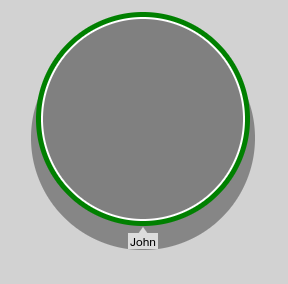
You can also pass null so the attributes of nodes are not changed when hovered/selected:
js
ogma.styles.setSelectedNodeAttributes(null);Creating custom classes
- Creating a class is done via the
ogma.styles.createClassmethod. - Adding and removing a class from a node/edge is done via the
addClassandremoveClassmethods. - It is possible to do operations on the class object directly (such as retrieving the list of nodes/edges that have the class)
In this example, when the user clicks on a node we highlight the shortest path between a pre-determined node and the clicked node:
js
// Define the class, and the attributes associated to it
const myClass = ogma.styles.createClass({
name: 'shortestPathHighlight',
nodeAttributes: { outerStroke: { color: 'black', width: 5 } },
edgeAttributes: { color: 'black' }
});
// Remove the style applied to nodes when they are selected
ogma.styles.setSelectedNodeAttributes(null);
ogma.events.on('click', evt => {
// This is the node that will be used to compute the shortest path
const sourceNode = ogma.getNode(0);
// When the user clicks, first clear the current highlighted shortest path, if any
myClass.clearNodes();
myClass.clearEdges();
// If a node was right clicked, highlight the shortest path
if (evt.target && evt.target.isNode) {
const clickedNode = evt.target;
ogma.algorithms
.shortestPath({
source: sourceNode,
target: clickedNode
})
.then(shortestPath => {
// `shortestPath` is null if no path exists
if (shortestPath) {
// Highlight all the nodes and edges in the shortest path
shortestPath.nodes.addClass('shortestPathHighlight');
shortestPath.edges.addClass('shortestPathHighlight');
}
});
}
});
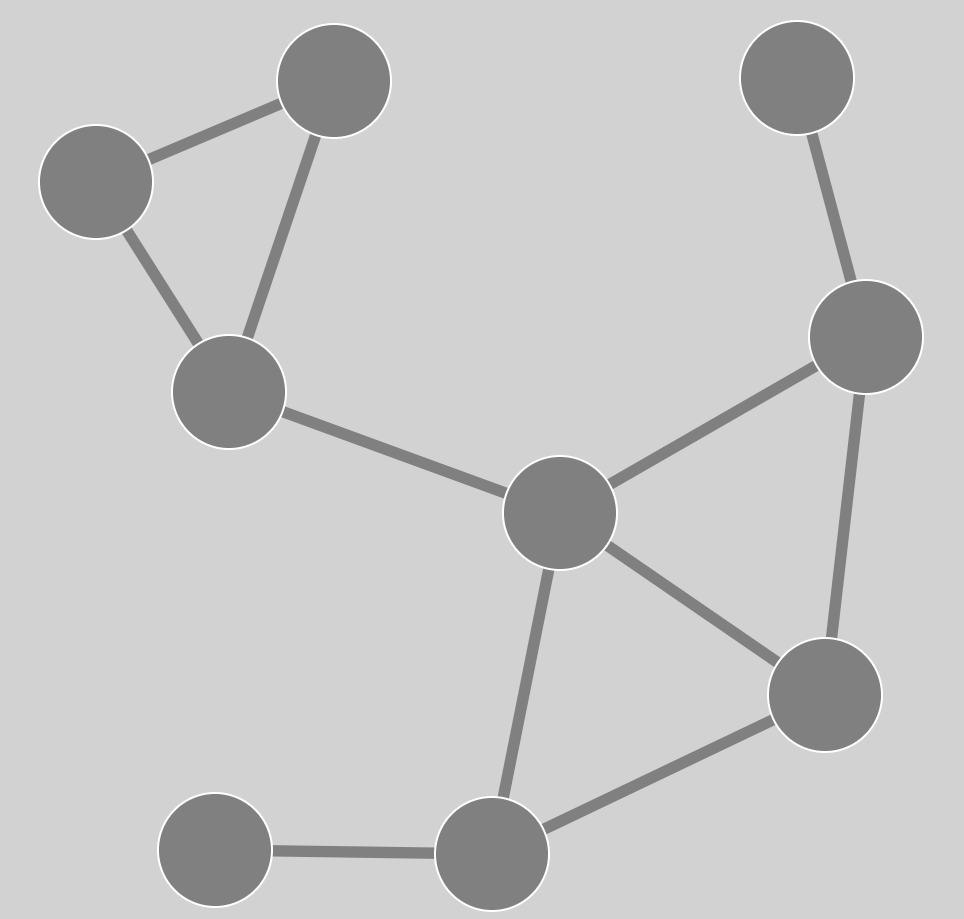
// Finally, load a graph on which to test the feature
ogma.generate
.grid({ rows: 5, columns: 5 })
.then(graph => ogma.setGraph(graph))
.then(() => {
// Remove a few edges to make things more interesting
return ogma.removeEdges([0, 2, 3, 5, 7, 10, 13, 14, 18, 19, 22]);
})
.then(() => ogma.view.locateGraph());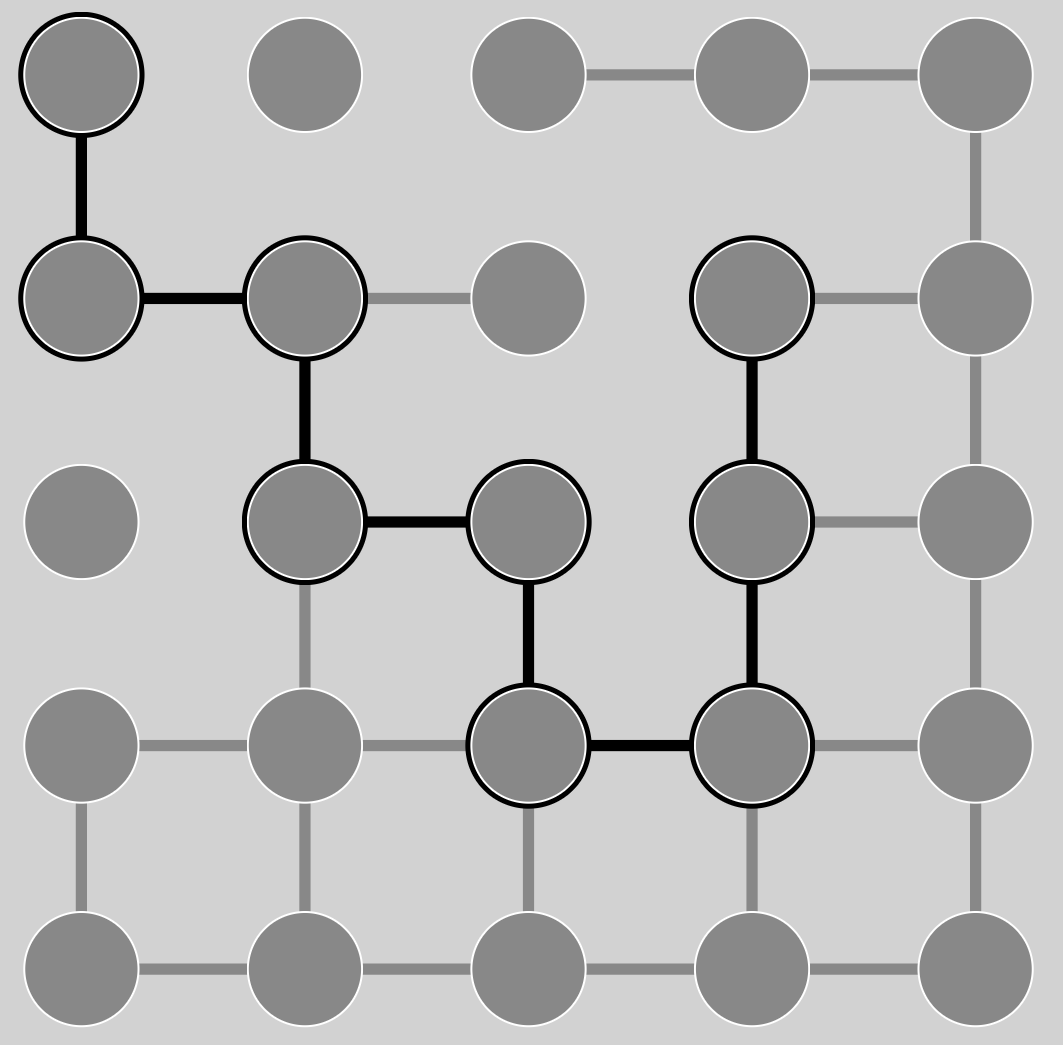
A few things to note:
- Classes are applied after individual attributes and rules.
- Classes are applied using the same mechanism as rules: the class added last is applied last
- Builtin classes (selection and hover) are always applied last, after user classes
Summary
Attributes are computed in the following order:
- original attributes
- rules (from first added to last added)
- individual attributes (that are assigned with
setAttributes) - custom classes (from first added to last added)
- builtin classes (selection and hover)
It is especially important to keep this order in mind when defining rules/classes that are computed using other attributes.
Performance notes
When working with a large number or nodes/edges:
- Avoid using functions in rules/classes; use constants as much as possible.
- Prefer using one single method on a NodeList/EdgeList rather that the same method on each node/edge individually (e.g
nodeList.setAttributes({color: 'red'})rather thannodeList.forEach(node => node.setAttributes({color: 'red'}))).
The next tutorial is more advanced and shows how to optimize rules and classes by telling Ogma what attributes they depend on.
Themes
You can use theme presets for all styling at once. We have compiled several styling themes for Ogma in our public @linkurious/ogma-styles repository. These themes are applied before all the styling rules and are a good way of producing a global stylesheet that expresses the "look and feel" of your visualisation
js
import Ogma from '@linkurious/ogma';
import { midsummerNight as theme } from '@linkurious/ogma-styles'

const ogma = new Ogma({ ... });
ogma.styles.setTheme(theme);
Best Practices
Check out our best practices tutorial to learn more about how to make your styles fast and easy to maintain.