Appearance
Layouts
Basics
Ogma includes a range of layouts to help the user spot different structure patterns from different prospectives. In this tutorial we'll cover some basic layouts and the tutorial will be progressively improved to cover more and more layouts.
Force layout
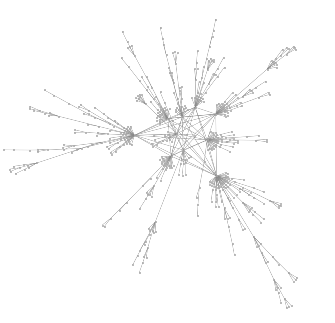
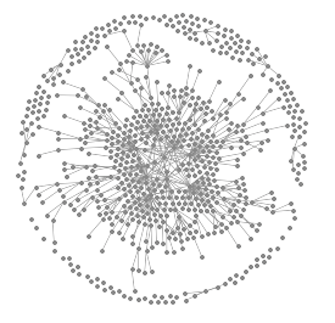
Force layout is the algorithm that treats the graph as a physical system, where nodes are represented by charged particles and edges - by elastic springs. This type of simulations is known for being able to produce visually pleasing layouts of good readability from most sorts of graphs.
ts
ogma.layouts.force().then(() => {
  // done
});
Force layout has few parameters that can influence the resulting picture in different ways.
Charge
Using charge, you can control how much nodes are repelling each other and thus, the surface of the resulting layout. The hubs will also be put further from each other.
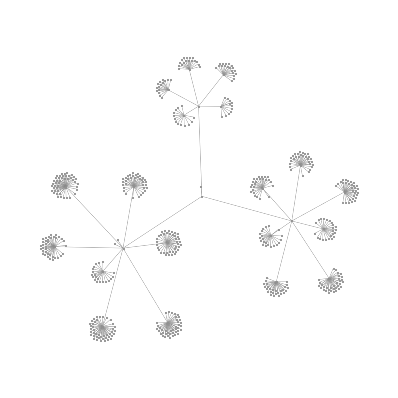
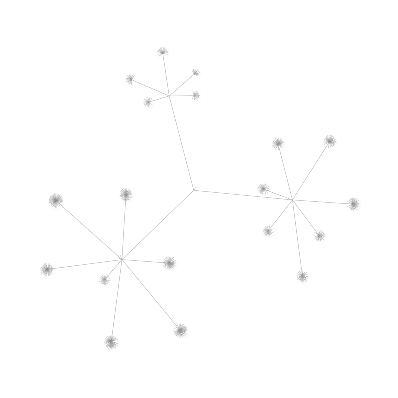
charge = 5 vs. charge = 50
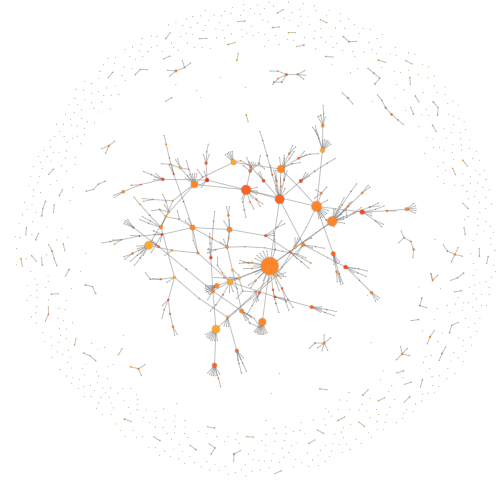
Gravity
Gravity force is applied to all the nodes of the graph in order to pull them together and towards the center of mass of the graph. It makes sure that the weakly connected components of smaller size would not be pushed too far away by the bigger "core". That also helps to straighen the "branches" if they appear in the structure.
gravity=0 vs. gravity=0.01
Steps/speed
Sometimes, in order to get a quick view on a bigger graph you might be interested in just running few iterations fast to see the shape of it and the main hubs, or maybe you don't care too much about the node overlap. 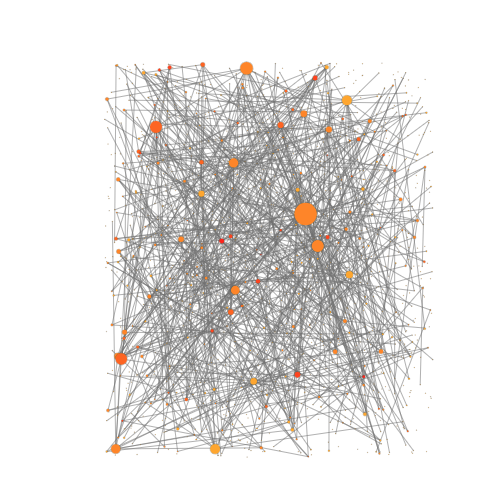
You can get a combination of parameters that would give you a result very quickly, here are the results for 50 and 300 steps (default value):

To control the amount of steps, use the steps parameter. On top of that, you can completely skip the overlap removal step, which can also win you some time.
ts
ogma.layouts.force({
  steps: 50,
  elasticity: 0
});
Hierarchical layout
The Hierarchical layout makes easy to find hierarchies within the graph data such dependencies, control chains and flow analysis. As per the ForceLink layout also the hierarchy layout function returns a Promise handler to control the code flow:
ts
ogma.layouts
  .hierarchical({
    duration: 400
  })
  .then(() => {
    // do something else after the layout
  });
It is possible to control the spacing in the layout using the nodeDistance and levelDistance numeric properties. nodeDistance controls the minimum distance between nodes within each rank: if the layout is too crowded it is a good idea to increase this parameter. levelDistance controls the minimum gap distance between each layer in the hierarchy.
By default the layout will workout the best layering structure in terms of "compactness" of the vertical height. While this is useful to discover structural patterns in your data, sometimes it is required to set some "constraints" to the layout to make it respect some business expectation. These constraints will hints the layout algorithm where to position specific nodes in the layering structure so that the expectations are correct for the business case.
Constraints can be set directly on the nodes, using a special layer data property, as shown in the example below:
ts
// With the layer property we're forcing the algorithm to assign
// the layering structure
const data = {
  nodes: [
    { id: 'n1', data: { layer: 0 } },
    { id: 'n2', data: { layer: 1 } },
    { id: 'n3', data: { layer: 2 } }
  ],
  edges: [
    { id: 'e1', source: 'n3', target: 'n2' },
    { id: 'e2', source: 'n2', target: 'n1' }
  ]
};

ogma.setGraph(data).then(() =>
  ogma.layouts.hierarchical({
    duration: 400
  })
);
Layers start from 0 (top layer) to any positive number. The layout will do its best to respect the assigned layer, while avoiding possible conflicts - anyway lower layers will always be on top of higher layers.
This parameter opens a new world of potential discoveries:
Sometimes it is required to enforce a particular type of node to be either at the top or the bottom. For this special scenario there are the roots and sinks parameters to use in the layout:
js
// With the layer property we're forcing the algorithm to invert
// the ranking structure
const data = {
  nodes: [{ id: 'n1' }, { id: 'n2' }, { id: 'n3' }],
  edges: [
    { id: 'e1', source: 'n3', target: 'n2' },
    { id: 'e2', source: 'n2', target: 'n1' }
  ]
};

ogma.setGraph(data).then(() =>
  ogma.layouts.hierarchical({
    duration: 400,
    roots: ['n3'],
    sinks: ['n1']
  })
);
This constraint will put the node n3 at the top of the hierarchy, while n1 at the bottom of the hierarchy.
Sequential layout
The Sequential layout is a special hierarchy layout that is useful when looking at pipeline data: the layout guarantees a better alignment of the different nodes in the layers to make it easier to find flow patterns.
The Sequential layout accepts the same options as the Hierarchical layout:
js
ogma.layouts
  .sequential({
    duration: 400
  })
  .then(() => {
    // do something else after the layout
  });
To see and example of this layout in action taken a look at: